I am most definitely posting late for this month's Daring Bakers' Challenge. It has been an insane month and it seems that just yesterday I was posting about our Panna Cotta challenge. Well, surprise, an entire month has flown by and I feel like I have nothing to show for it. But at least I managed to complete the challenge! And had a good time doing it!

The March 2011 Daring Bakers' Challenge was hosted by Ria of
Ria's Collection & Jamie of
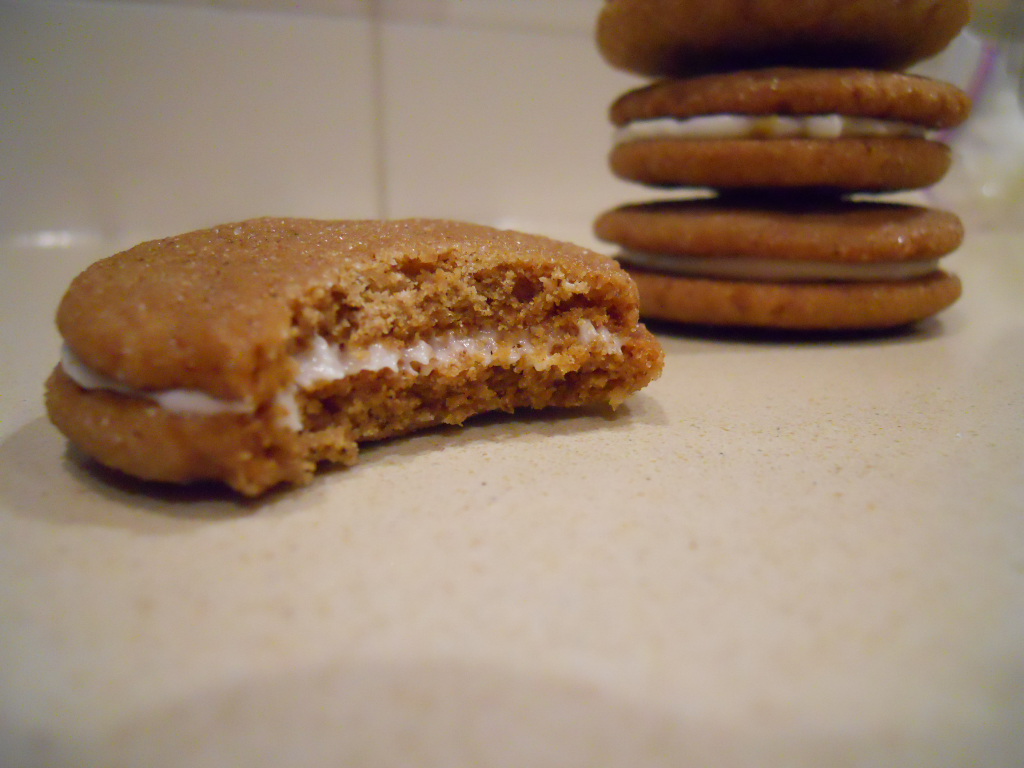
Life's a Feast. Ria & Jamie challenged the Daring Bakers to make a yeasted meringue coffee cake. I made two of the coffee cakes - the first one I stuck to the recipe and used cinnamon sugar, chocolate chips, and toasted pecans. I shaped this bread differently - more of an "S" shape then cut down the middle to show off the meringue. The second coffee cake I sprinkled on a tiny bit of the cinnamon sugar, fresh cranberries, toasted pistachios, almonds, and the zest of one lemon. I shaped this one like the wreath we were challenged to make. I found this to be a very similar technique to that of the Stollen Wreath we made at Christmastime, the only additional challenge was rolling it up without the meringue squishing out the sides!

I will definitely be making this recipe over and over again with different fillings! The possibilities are endless and it really does look nice when it is baked. Not to mention the fact that the house smelled absolutely heavenly while it was baking away in the oven. It was pretty tough to wait for the loaf to cool before hacking into it!

There are a couple of parts to this recipe, the first being the sweet dough.
Yeasted Coffee Cake Dough
Ingredients:
- 4 cups flour
- 1/4 cup sugar
- 3/4 tsp salt
- 1 pkg active dry yeast
- 3/4 cup whole milk
- 1/4 cup water
- 1/2 cup unsalted butter, at room temperature
Method:
- In a large mixing bowl, combine 1 1/2 cups of the flour, the sugar, the yeast, and the salt. Set aside.
- In a saucepan, combine the milk, water and butter. Heat over medium heat until the mixture is warm and the butter is melted.
- With an electric mixer on low speed, gradually add the warm liquid to the flour/ yeast mixture, beating until well blended. Increase mixer speed to medium and beat 2 minutes. Add the eggs and one more cup of the flour and mix for 2 more minutes.
- Switch to your dough hook and stir in enough of the remaining flour to make a dough that holds together. Knead with the dough hook for 8-10 minutes until the dough is smooth, soft, sexy and elastic, adding extra flour as needed.
- Place the dough in a lightly greased bowl, cover with plastic wrap and then a tea towel. Place in a warm, draft free place until risen and doubled in bulk, about 1 hour.
- Prepare your fillings.

The next component of this coffee cake is the meringue filling. The meringue is super easy to whip up as long as you have a stand mixer that you can just turn on high and walk away!! Which I do, so of course I LOVE making meringue because it turns out perfect every time. :)
Ingredients:
- 3 large egg whites, at room temperature
- 1/4 tsp salt
- 1/2 tsp vanilla
- 1/2 cup sugar
Method:
- Once the dough has doubled in bulk, make the meringue. Using a very clean mixing bowl, beat the egg whites and the salt on low speed for 30 seconds, then increase speed to high until the egg whites and foamy and opaque. Add the vanilla and then start adding the sugar, a tablespoon at a time, beating until stiff, glossy peaks form.

Mix up 2 tbsp of sugar with 1/4 tsp cinnamon in a small bowl. Set aside. Also prepare one cup toasted pecans and 1 cup semisweet chocolate chips (or as I did for my other bread - sprinkle with cranberries, pistachios, almonds and zest of 1 lemon).

The last step is to assemble the bread!
Method:
- Line two baking sheets with parchment paper.
- Punch down the dough and divide in half. On a lightly floured surface, working with one piece of dough at a time, roll out the dough into a rectangle about 20x10 inches. Spread half the meringue over the dough, leaving about 1/2 inch of room on each side. Then sprinkle with 1/2 of the cinnamon sugar mixture, 1/2 of the nuts and 1/2 of the chocolate.
- Roll the dough up jelly-roll style, starting on the long side. Pinch the seam closed to seal. Bring the ends of the log around and seal together, forming a ring, tucking one end into the other and pinching to seal.
- Using a sharp knife, slash the dough evenly about 1 inch apart.
- Repeat with remaining ingredients. Cover with plastic wrap and let rise again for about 1 hour.
- Preheat the oven to 350F. Take 1 egg and beat well. Brush the loaves with the egg wash just prior to placing in the oven.
- Bake the loaves for 25-30 minutes in the preheated oven until risen and golden brown. The dough should sound hollow when tapped.
- Remove from oven to cooling racks until well cooled. Just before serving dust the tops lightly with cocoa powder or icing sugar (or both) to give them a pretty look. These are best if eaten fresh, the first day or two is ideal.

Yummers! They were great! The meringue sort of absorbs into the bread to make it so moist and delicious tasting. You'll have to restrain yourself from eating the whole loaf!

Thanks Ria and Jamie for such a lovely challenge! My favorite part about this challenge was the fact that it took elements that most of us Daring Bakers were familiar with and did something totally unexpected with them. I mean who would have thought of putting meringue into a sweet bread?! I know I never would have. I can't wait to have a look around at what all of the other fabulous Daring Bakers did with their challenges. Check it out if you have a second at the
Daring Kitchen website. You won't be disappointed. :)

Hope everyone had a great Monday! Only 4 days left til the weekend. :) The count down is on!!!!!

 Okay, bet that title got your attention!! No eating puppies on this blog, but there are some cute pictures of puppies! You may have noticed that I have been a bit delinquent about blogging during the last week and a half... I have been busy dog-sitting & house-sitting for our friends who own our dog's sister. So we had two giant golden retrievers for 10 days while they went away on their spring break vacation. The puppies were great & my hubby was fooling around with the camera one day and got some great shots that I thought I would share with you. :) I also thought these photos would make up for the lack of photos I have of the chicken I'm going to tell you about! ;)
 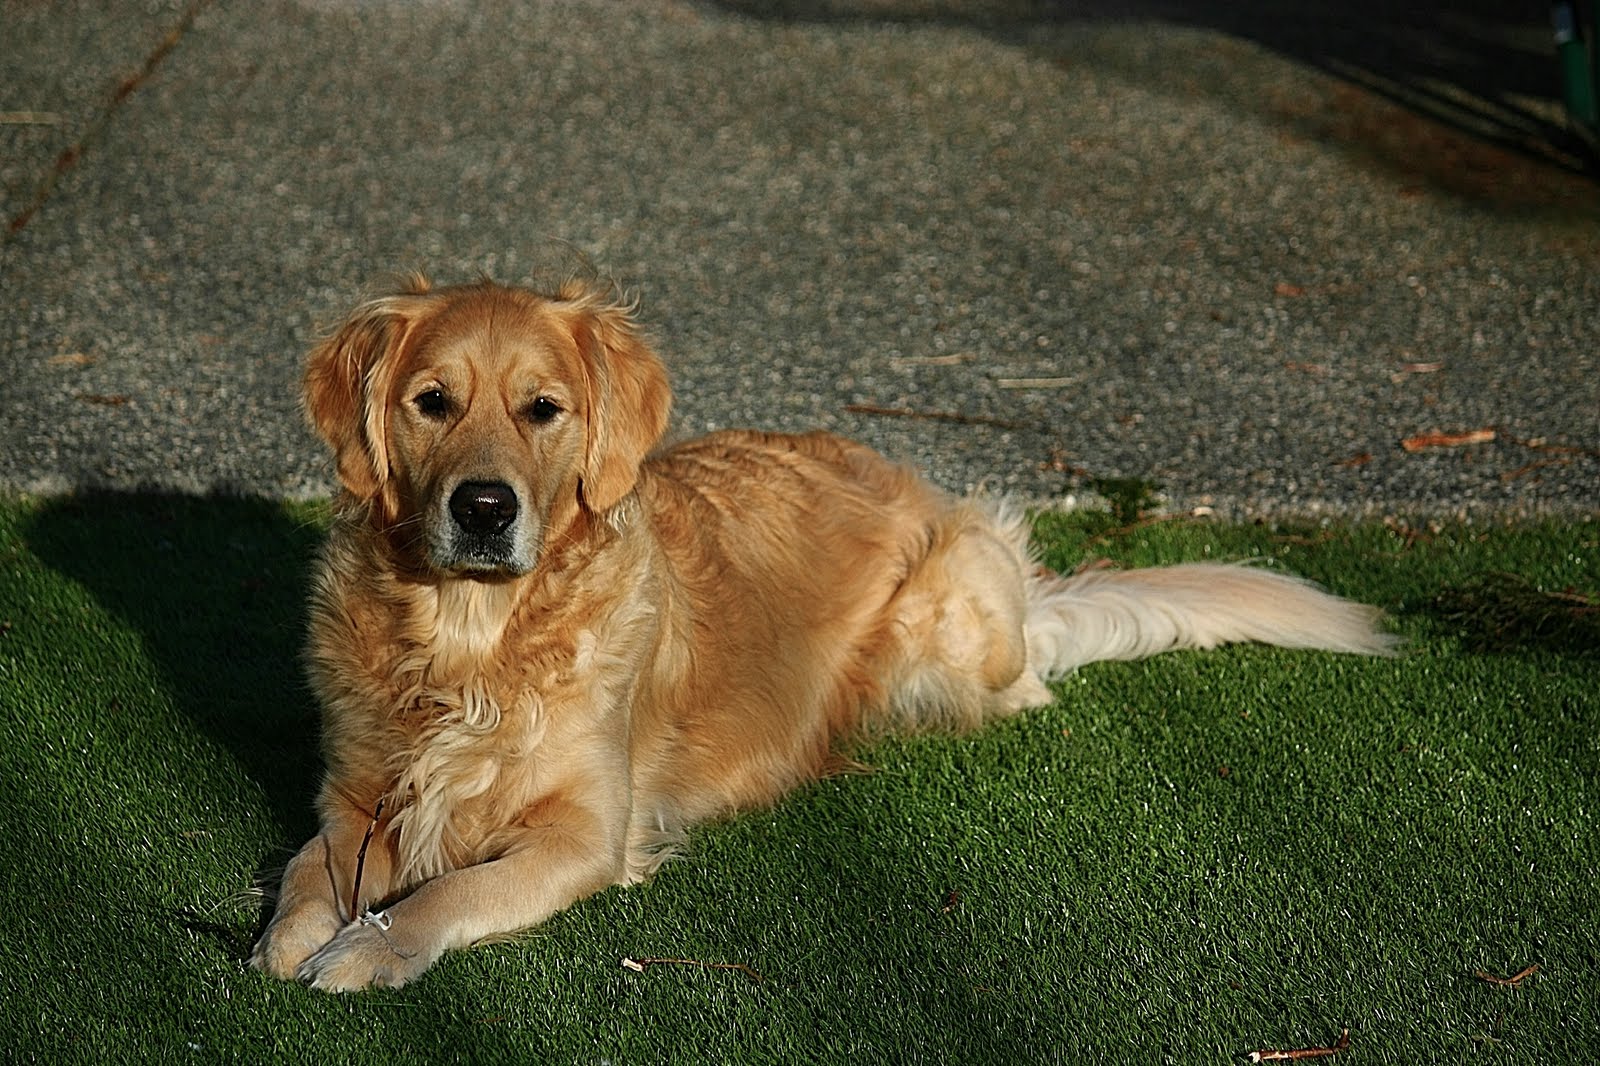 This chicken is some of the most flavourful, moist and delicious chicken I've ever had. Annnddd its super duper easy to make! Honestly, any one can make it.
 Hope you enjoyed the pictures!