I made these quite a while ago and was on the fence whether to post them. I wasn't entirely satisfied with the photos, but in the end, the taste won out... these are delish! I made them for my sister's birthday party along with mini oreo cookies and cream cheesecakes and mini raspberry swirl cheesecakes... is anyone picking up on a theme here? You would have to be quite the baking nerd to pick up on it... but I had a bit of an obsession with Martha Stewart Cupcakes at that time and as such, these are all cute desserts from her cookbook. I borrowed the cookbook from my friend D and I honestly didn't want to give it back... but I did what any good friend would do, I scanned half the recipes onto my computer then finally, reluctantly returned the cookbook.
 Any way, I am trying to pack for camping this weekend, so I'm gonna make this post a quick one... without further delay, here is the recipe for snickerdoodle cupcakes. Top with seven minute frosting and sprinkle with cinnamon sugar and you are set. Any seven minute frosting recipe will do... they are all pretty much the same. Here is one you can try.
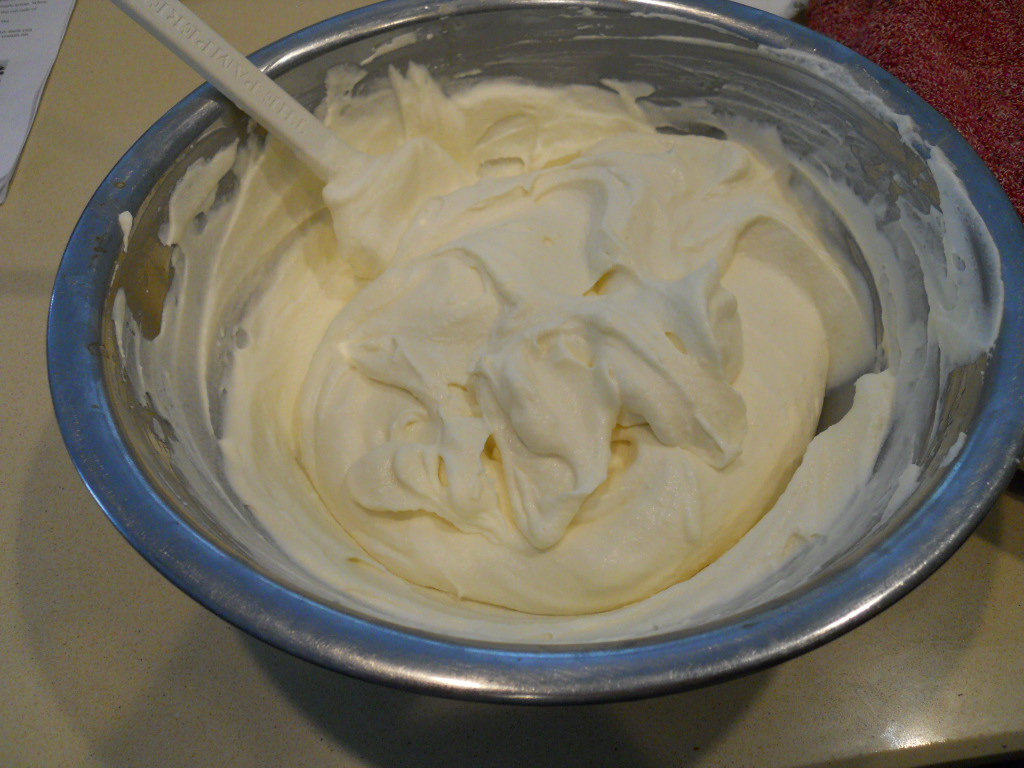
Snickerdoodle Cupcakes
Martha Stewart Cupcakes
Ingredients:
- 1 1/2 cups all-purpose flour
- 1 1/2 cups cake flour (not self rising), sifted
- 1 tbsp baking powder
- 1/2 tsp salt
- 1 tbsp ground cinnamon, plus 1/2 tsp for dusting
- 1 cup unsalted butter, room temperature
- 1 3/4 cups sugar, plus 2 tbsp for dusting
- 4 large eggs, room temperature
- 2 tsp pure vanilla extract
- 1 1/4 cups milk
- 1 recipe seven minute frosting (link above)
Method:
- Preheat oven to 350F. Line standard muffin tins with paper liners. Sift together both flours, baking powder, salt and 1 tbsp cinnamon.
- With a stand mixer on medium high speed, cream butter and sugar until pale and fluffy. Add eggs, one at a time, beating until each is incorporated, scraping down sides of bowl as needed. Beat in vanilla. Reduce speed to low. Add flour mixture in three batches, alternating with two additions of milk, and beating until combine after each addition.
- Divide batter evenly among 28 lined cups, filling each 3/4 full. Bake, rotating tins halfway through, until a cake tester inserted in centers comes out clean, about 20 minutes. Transfer tins to wire racks and cool completely before removing cupcakes. Cupcakes can be stored up to two days at room temperature, or frozen up to two months, in airtight containers.
- To finish, combine remaining 1/2 tsp cinnamon and 2 tbsp sugar. Using a pastry bag fitted with a large plain tip, pipe frosting onto each cupcake. Hold bag over cupcake with tip just above top, and squeeze to create a dome of frosting, then release pressure and pull up to form a peak. Using a small, fine sieve, dust peaks with cinnamon-sugar. Cupcakes are best eaten the day they are frosted; keep at room temperature until ready to serve.
Enjoy!! Happy Baking my Friends!!