Good Morning friends! Surprise, I'm back! My life has been crazy and I have been going through some huge life changes during the last 6 months or so and my blogging and baking/ cooking has been put on the back burner. I don't know how regularly I will be back here, so I'm not making any promises, but I've been missing all of you and missing spending some QT in my kitchen. I will post some more about all of the life changes and craziness soon, but I want the focus of this post to be this spectacularly delicious quick bread. It is totally worthy of a post devoted to its awesomeness.

The quick bread name is a little deceiving for this bread if you decide to make it all at once. Caramelizing onions properly takes time (read minimum 30 minutes). But the good news is that you can caramelize the onions and cook the bacon ahead of time. My method has you making the bacon in the oven while you caramelize the onions on the stove top, which will be the most efficient and least messy way to do the prep work!
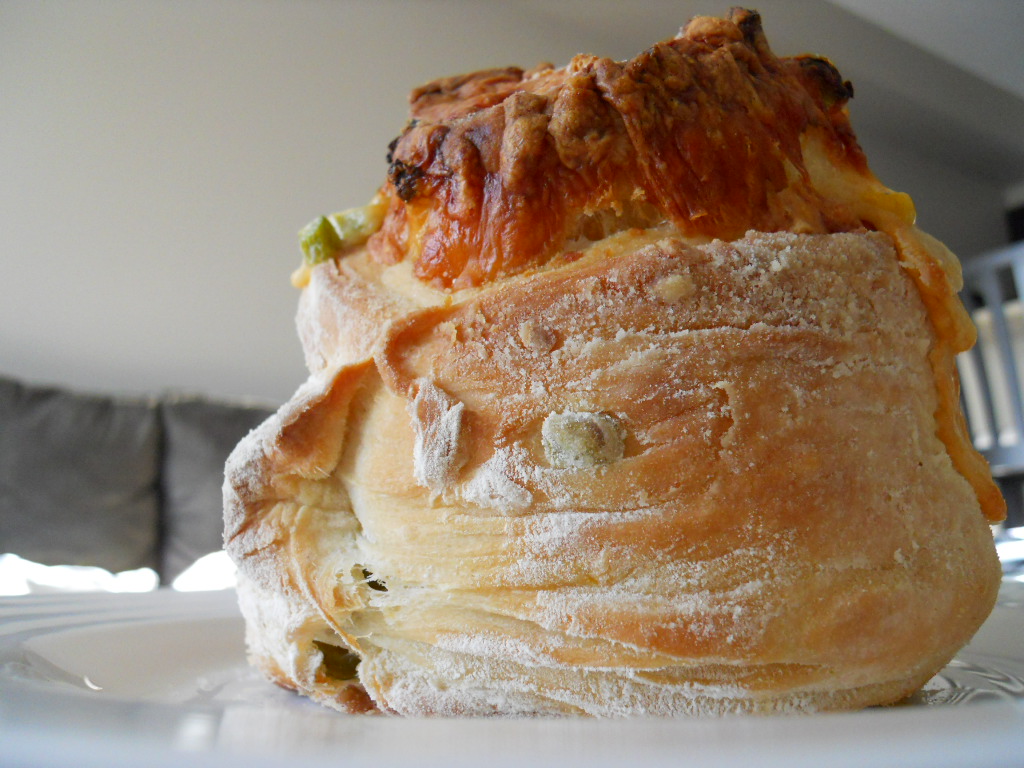
Bacon, Cheese & Caramelized Onion Quick Bread
Recipe minimally adapted from Oprah Magazine
Ingredients
- 3 tbsp. butter, plus more for greasing
- 1 medium onion, chopped
- 6 slices lazy maple bacon
- 2 cups all purpose flour
- 1 tbsp. baking powder
- 1 1/2 tsp kosher salt
- 1/2 tsp freshly ground black pepper
- 1 cup 1% milk
- 1/3 cup EVOO
- 1 egg
- 1 1/2 cups muenster cheese (or any other sharp, white cheese), shredded
- First things first - cook your bacon and caramelize the onions. You can do this up to 2-3 days ahead of making the actual bread. Preheat the oven to 400F. Line a baking tray with parchment paper and lay the bacon in one layer, making sure the edges of the bacon don't overlap. Cook the bacon for 15-17 minutes or until crisp. Remove from tray to a paper towel lined plate and let cool. While the bacon is cooking - melt 3 tbsp. butter in a medium non-stick frying pan over medium-low heat. Add onions. Cook, stirring every few minutes and making sure they don't brown, until onions are soft and caramelized. This should take approximately 30 minutes. If onions are browning, your heat is too high. Remove onions from heat and let cool.
- When ready to prepare the bread, preheat oven to 350F. Grease a 9x5 loaf pan or line with parchment paper. Don't skip this step or skimp on the grease!!! The cheese can stick to the pan as it cooks, so you need to grease well.
- In a large bowl, whisk together the flour, baking powder, salt and pepper. Make well in center of bowl.
- In a medium bowl, combine milk, EVOO and egg. Mix until combined.
- Add liquid mixture to dry ingredients. Gently fold mixture together until flour is incorporated. Chop the bacon into small pieces. Add bacon, cheese and onions to batter and mix together gently. Don't over mix or you will have tough bread. Place mixture in prepared loaf pan and bake in preheated oven for 45 minutes or until a toothpick inserted in middle comes out clean. Let cool as long as you can bear it and then remove from loaf pan and slice. Delicious topped with butter or jam for that sweet-savory combo.

I'm pretty sure this is my favorite quick bread recipe thus far and I know its my hubby's favorite too. It doesn't last long in our house. I hope you enjoy it as much as we do.
The thing I love about this recipe is that you can mix it up - add some herbs and spices that you like, change up the type of cheese or change up the type of meat - you could do prosciutto (go easy on the salt if you decide to do that though), left over ham, etc. The possibilities are endless!

I'm so glad to be back! Hopefully you'll be hearing from me more often this summer as we get settled into our new life. :) Happy baking my friends!