30.7.11

Snickerdoodle Cupcakes!

I made these quite a while ago and was on the fence whether to post them. I wasn't entirely satisfied with the photos, but in the end, the taste won out... these are delish! I made them for my sister's birthday party along with mini oreo cookies and cream cheesecakes and mini raspberry swirl cheesecakes... is anyone picking up on a theme here? You would have to be quite the baking nerd to pick up on it... but I had a bit of an obsession with Martha Stewart Cupcakes at that time and as such, these are all cute desserts from her cookbook. I borrowed the cookbook from my friend D and I honestly didn't want to give it back... but I did what any good friend would do, I scanned half the recipes onto my computer then finally, reluctantly returned the cookbook.


Any way, I am trying to pack for camping this weekend, so I'm gonna make this post a quick one... without further delay, here is the recipe for snickerdoodle cupcakes. Top with seven minute frosting and sprinkle with cinnamon sugar and you are set. Any seven minute frosting recipe will do... they are all pretty much the same. Here is one you can try.


Snickerdoodle Cupcakes

Martha Stewart Cupcakes

Ingredients:


  • 1 1/2 cups all-purpose flour

  • 1 1/2 cups cake flour (not self rising), sifted

  • 1 tbsp baking powder

  • 1/2 tsp salt

  • 1 tbsp ground cinnamon, plus 1/2 tsp for dusting

  • 1 cup unsalted butter, room temperature

  • 1 3/4 cups sugar, plus 2 tbsp for dusting

  • 4 large eggs, room temperature

  • 2 tsp pure vanilla extract

  • 1 1/4 cups milk

  • 1 recipe seven minute frosting (link above)

Method:


  1. Preheat oven to 350F. Line standard muffin tins with paper liners. Sift together both flours, baking powder, salt and 1 tbsp cinnamon.

  2. With a stand mixer on medium high speed, cream butter and sugar until pale and fluffy. Add eggs, one at a time, beating until each is incorporated, scraping down sides of bowl as needed. Beat in vanilla. Reduce speed to low. Add flour mixture in three batches, alternating with two additions of milk, and beating until combine after each addition.

  3. Divide batter evenly among 28 lined cups, filling each 3/4 full. Bake, rotating tins halfway through, until a cake tester inserted in centers comes out clean, about 20 minutes. Transfer tins to wire racks and cool completely before removing cupcakes. Cupcakes can be stored up to two days at room temperature, or frozen up to two months, in airtight containers.

  4. To finish, combine remaining 1/2 tsp cinnamon and 2 tbsp sugar. Using a pastry bag fitted with a large plain tip, pipe frosting onto each cupcake. Hold bag over cupcake with tip just above top, and squeeze to create a dome of frosting, then release pressure and pull up to form a peak. Using a small, fine sieve, dust peaks with cinnamon-sugar. Cupcakes are best eaten the day they are frosted; keep at room temperature until ready to serve.

Enjoy!! Happy Baking my Friends!!

28.7.11

How to... Roast Garlic

I share a lot of recipes with you on this blog... lots of them easy, some of them more involved, but I realized earlier this week, that sometimes I put ingredients in the recipes that I know how to make, but a lot of people would just go out and buy. So I decided I'm going to start doing some "How To" posts that discuss the techniques or methods for producing those ingredients at home. Usually those ingredients are far more delicious when you make them yourself, far more economical, and are often quite easy to make. So for my first "How To" post, I'm going to share with you how to make roasted garlic at home. Its super easy and you can do it while you're watching your favorite show on TV!

Slice the top 1/4 inch off a whole head of garlic, making sure the tops of all of the cloves on the head have been cut off so the garlic inside is exposed. This will make sure all of the cloves on the head roast evenly and carmelize nicely. Then cut out a square of aluminum foil that is large enough to wrap up the entire head of garlic in. Fold up the sides to envelop the head of garlic, leaving the top of the head exposed. Drizzle with a little extra-virgin olive oil and season with a tiny bit of kosher salt if desired. Then wrap the foil up over the whole head, closing up the package, but not sealing it tightly.

Roast the garlic in a 350F oven for approximately 50 minutes until your house smells delicious and the garlic has turned a lovely golden colour. Open up the garlic foil package to let the garlic cool until it is cool enough to handle and then squeeze out all the roasted garlic goodness for whatever you decide to use it for.

Now, you may notice that I have a whole tray full of roasted garlic... what am I going to do with all of it? Well, I'll tell you. I roast garlic in huge batches and then squeeze out two heads into freezer bags. Then I freeze the roasted garlic and use it whenever I feel like it. You can freeze roasted garlic for up to 6 months and it will still taste delicious. Or if you don't want to freeze it, it stays good in the fridge for about one week.


Happy Cooking my Friends!

27.7.11

The Daring Bakers Challenge - July 2011 - Fresh Fraisiers!!!

This month has been crazy... I know, I know I've been on vacation so how can things be crazy? I will save the boring excuses for later. I just returned from Mexico late on July 24th realizing I hadn't yet started the Daring Bakers July 2011 challenge... so yesterday, the day before the deadline, I made all of the components then ran out of steam and didn't assemble the dessert. Thus, on the due date (today) I was madly assembling the desserts this morning so I could photograph them this evening and still post within the deadline! How is that for crazy? I have NEVER saved a challenge this late and likely never will again. I should have rebaked my cake... it was gross, but more on that later!


The end result was quite pretty (in my opinion any way) and tasted pretty darn good too. For those of you wondering what I'm crazily rambling on and on about, Jana of Cherry Tea Cakes was our July Daring Bakers' host and she challenged us to make Fresh Fraisiers inspired by recipes written by Elisabeth M. Prueitt and Chad Robertson in the beautiful cookbook Tartine.


I'm not going to reproduce the recipe this time because I think you would be better off using the recipes exactly as provided by Jana on her website. So please hop on over to her blog and use those recipes if you decide you want to attempt this delicious dessert.


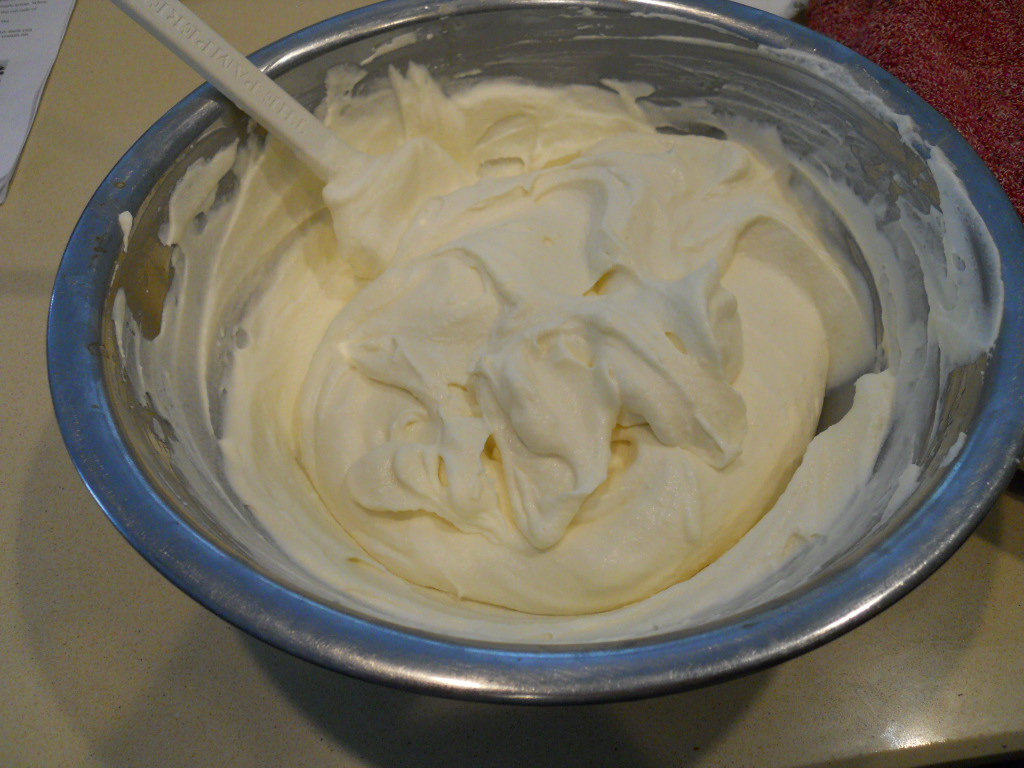
So, my pastry cream element was AMAZING!!! So delicious and it set up beautifully! I overwhipped the cream a tad bit, but I think that actually helped with the stability of the cream mixture, so in the end it worked out. I doubled the amount of vanilla in the recipe which I think was a good call! It gave it a delightful flavour that stood in with the strawberries very nicely.


The problem lies with the cake in my case... pretty bad!! Instead of following the recipe and the suggested alterations to arrive at a coconut chiffon cake, I decided to make my own creative adaptations to the recipe. A friend had given me some coconut flour which I was very excited to use... so excited in fact that I substituted it 100% for all of the regular flour in the recipe. Rookie mistake!!! My friend had even cautioned me against doing that very thing! Any way, the coconut flour absorbed moisture like crazy, so I just continued adding coconut milk until the batter was what I thought was the right consistency. WRONG!! The cake baked all the way through but was very wet; so wet that I couldn't cut it in half and transfer half back to the springform pan for molding. So to salvage the cake, I cut out shapes to fit in my ring molds and popped them in the freezer to firm up prior to handling them and putting them in the molds. It worked out well, but I still didn't like the texture of the cake for eating, though it was alright as long as all of the other components were included in that particular bite.


Despite my cake issues, the dessert turned out well and tasted delicious! The pastry cream is to die for!! I made some additional parfaits with fresh strawberries and pastry cream and boy were they good! I've already eaten one tonight and I would really like to eat another... but I will restrain myself!


Thank you Jana for hosting a wonderful challenge and introducing us to Fresh Fraisiers. They are so delicious and the perfect summer dessert. I can't wait to try it again and hopefully this time perfect the cake component as well. :)


Happy Baking my Friends!


25.7.11

I'm Back with Rollkuchen (fried bread)!!

So you may have noticed I have not been blogging... well that would be due to the fact that I was just in Mexico for a week. Hubby & I went to a beautiful adults only resort on the Mayan Riviera! It was awesome and I would go back there in a heartbeat! Check out the resort and maybe you'll decide you want to go there too... It was beautiful and all the restaurants served delicious tasting and beautifully presented food! I thought I would share a couple of pictures from our trip with you! Above is a picture of the palm tree I enjoyed laying under... right by the beautiful pool! Below is a picture of me all dressed up for a dinner at one of the lovely restaurants at the resort.


And lastly, but definitely not least, a picture of the beautiful beach at the resort. The colour of the Caribbean Sea and the soft white sand is just breathtaking! If you haven't been, you should try to go because it really is worth the trip. :) Any way, back to blogging and the reason you came to check out this post... food!


Hubby is a Mennonite, well at least his family is. As such, he grew up eating Mennonite food when he would visit his grandparents and he has fond memories of said food. That being said, my family is also Mennonite, although I wasn't aware of this until my hubby pointed that out to me! You can tell I haven't been raised by a family still observing many Mennonite traditions!! So to do something nice, I decided to try my hand at making rollkuchen which he loves! It turned out beautifully! You can roll just fried pieces in cinnamon sugar for dessert or serve plain rollkuchen along with salted watermelon as is traditional among Mennonite families. But I just served mine with homemade freezer jam like hubby's Grandma showed me how to make! :)


The recipe I have is from my wonderful cookbook Mennonite Girls Can Cook. Check out their blog for many of their delicious recipes, or better yet, check out their cookbook and buy yourself a copy today! Proceeds go to a good cause and you'll have lots of delicious recipes to try your hand at.

I was surprised how easy it was to make the bread - even with the required deep frying! Check out the recipe here. I made mine in my mixer with the dough hook and that seemed to work great and required very little effort. Hope you enjoy!


Happy Baking my Friends!

18.7.11

A Little Nosh's Dark Chocolate Cupcakes with Peanut Butter Frosting


Woohoo! So stoked that it is time for the Secret Recipe Club reveal again... feels like this month took forever to go by. Maybe thats because I was so excited about my blog assignment (And the recipe I found on her blog to bake)!!!!! I was assigned to Amy's blog, A Little Nosh. Amy is a food blogger from Washington, D.C. with a really down-to-earth, healthy approach to cooking and baking. She posts a lot of healthy recipes and some treat recipes too! Can you guess what type of recipe I chose??!! Surpise, I picked a treat recipe to bake. I chose her Dark Chocolate Cupcakes with Peanut Butter Frosting because they sounded soooo amazing and you know what? They were even better than they sounded! Yummers!


Do stop by Amy's blog when you have a minute, especially when you need a quick and healthy idea for dinner! She has so many great ideas that don't take a lot of time, which I guess is important when you're as busy as Amy is! I learned that she is a mother to a cute little boy and a wife to a smart, funny man annnndddd she has a kitchen that is even smaller than mine! But she doesn't let that stop her. Thanks Amy for sharing so many great recipes and tips for eating well and eating quick! :)


Now, on to the recipe!!


Dark Chocolate Cupcakes

Recipe from A Little Nosh (October 2010)

Ingredients:


  • 8 tbsp unsalted butter, cut into pieces

  • 2 oz semi-sweet chocolate, chopped

  • 1/2 cup dutch processed cocoa powder

  • 3/4 cup all-purpose flour

  • 1/2 tsp baking soda

  • 3/4 tsp baking powder

  • 2 eggs

  • 3/4 cups granulated sugar

  • 2 tsp vanilla extract

  • 1/2 tsp fine salt

  • 1/2 cup sour cream

Method:


  1. Preheat oven to 350F. Line muffin tin with paper liners and set aside.

  2. Combine butter, chocolate and cocoa powder in a microwave safe dish. Using 30 second increments, microwave until melted. Stir well until smooth. Set aside to cool.

  3. Whisk flour, baking soda, salt and baking powder in a small bowl.

  4. In the bowl of your stand mixer, beat eggs until fluffy. Add sugar and vanilla and beat well until fully incorporated. Beat in cooled chocolate mixture until well combined. Stir in one third of flour mixture until just combined, then beat in sour cream. Add the remaining flour mixture and stir until just incorporated. Do not overmix or you will have tough cupcakes!

  5. Divide batter evenly among baking cups. Bake 18 minutes in preheated oven until toothpick comes out with a few moist crumbs on it.

  6. Cool cupcakes completely, then frost with peanut butter frosting (recipe below).


Peanut Butter Frosting


Recipe from A Little Nosh (October 2010)


Ingredients:


  • 1 cup icing sugar

  • 1 cup creamy peanut butter

  • 5 tbsp unsalted butter, at room temperature

  • 1.5 tsp vanilla extract

  • 1/4 tsp kosher salt

  • 1/3 cup heavy cream

Method:


  1. Beat together icing sugar, peanut butter, butter, vanilla and kosher salt until well combined.

  2. Beat in heavy cream until icing is smooth.

  3. Pipe liberally onto cupcakes however you like!

  4. Try not to eat the whole batch of cupcakes.

Thanks Amanda for hosting the Secret Recipe Club again this month, and thank you to Amy at A Little Nosh for introducing me to such a lovely recipe!


If you want to join the Secret Recipe Club, check out the website here.


Happy Baking my Friends!


12.7.11

Spiced Sweet Potato Fries

So, I don't know about you, but I have a pretty unhealthy obsession with sweet potatoes. I like sweet potato anything. They just have such an amazing flavour to them and don't need much of anything to make them taste good!

Tonight for dinner I made sweet potato fries - baked, not fried! So they're a little healthier for you. If you use a minimal amount of oil on them, they're even healthier for you. :) Healthy + easy = what more could you want!

Preheat your oven to 425F. Cut two medium sized sweet potatoes into 1/4-1/2 inch rounds and then cut them into fry shapes (mine made 4-5 fries per round). Toss all the fries into a medium size bowl and drizzle with your favorite type of oil. Sprinkle with whatever spices you like (I used lots of chili powder, a little garlic, and coarse salt). Toss to coat then spread in an even layer on a baking sheet. Bake 30-35 minutes, stirring every 10 minutes. Enjoy!

I served with some homemade sweet chilli dip - mix some sweet thai chilli sauce with a couple spoonfuls of fat free greek yogurt and you're laughing!


Happy Cooking my Friends!

10.7.11

Santa Fe Chicken Salad

Here is a delicious summery salad for you! When the weather gets hot, make this. It won't heat your kitchen up because you don't even have to turn on your oven. :) BBQ the chicken, chop everything else up, shake up the dressing, and you've got yourself a delicious summer meal fit to serve to guests, family or just yourself!

Santa Fe Chicken Salad
Recipe adapted from Mennonite Girls Can Cook
Ingredients:


  • 4 chicken breasts, boneless & skinless

  • chili powder &/or cajun seasoning

  • 8 cups mixed greens

  • 1 - 14 oz can black beans, drained & rinsed

  • 3/4 cup corn kernels

  • 2 avocados, halved and sliced

  • 1/2 cup feta cheese

  • 1/4 cup roasted peanuts, chopped

  • Peanut Lime Vinaigrette Dressing (recipe follows)

Method:


  1. Prepare the salad dressing (recipe and instructions follow).

  2. Prepare the salad ingredients in separate containers.

  3. Rub chicken breasts liberally with the chili powder and/ or the cajun seasoning until well coated. Grill chicken until cooked through. Let chicken breasts rest before slicing while you plate the salad.

  4. Assemble the salad ingredients on plates - start with a bed of greens, sprinkle with beans, corn, avocado, feta, sliced chicken and garnish with a sprinkle of chopped toasted peanuts.

  5. Drizzle with dressing and serve.

Peanut Lime Vinaigrette Dressing


Recipe Adapted from Mennonite Girls Can Cook


Ingredients:


  • 1/3 cup lime juice

  • 1/2 cup olive oil

  • 1 tbsp peanut butter

  • 2 tsp dijon mustard

  • 1 tsp lime zest

  • 1/4 cup dry roasted peanuts, finely chopped

Method:


  1. Using a blender, mix lime juice, olive oil, peanut butter, and mustard. Blend until emulsified. Stir in lime zest and finely chopped peanuts. Use as directed in Santa Fe Chicken Salad recipe (above).

This salad is pretty easy to whip together. Make your hubby BBQ the chicken while you prepare the rest of the ingredients and you'll have dinner on the table in no time (thats why I did!). Hope you've been having a fantastic weekend. I sure have - we have had some beautiful summer weather, I did some shopping for my upcoming vacation, and did a little celebrating at finishing a big exam on Friday afternoon. :)


Happy Cooking my Friends!